
Tagging and classifying your data is essential to look back on trends and to keep your benchmarks up to date. Marketing Analytics offers an easy-to-use and completely customizable tagging system to classify any data important to you.
1. Navigate to My Tag Fields on the menu bar.
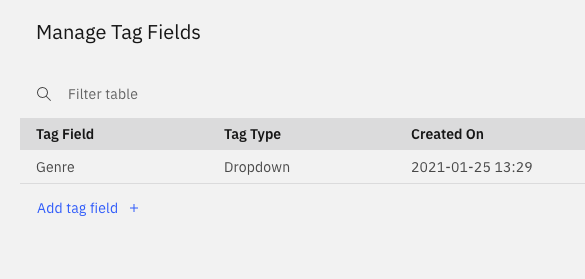
2. Select to Add tag field.
3. Ensure the correct team is selected in the Team dropdown.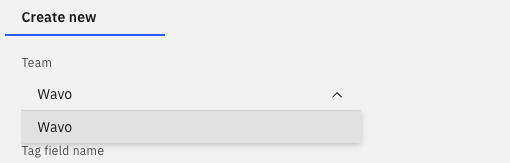
4. Enter your desired tag name in the Tag field name box. Note that this is the name of the classification itself, and not an individual tag. If necessary, add a description to clarify the tag for other users.
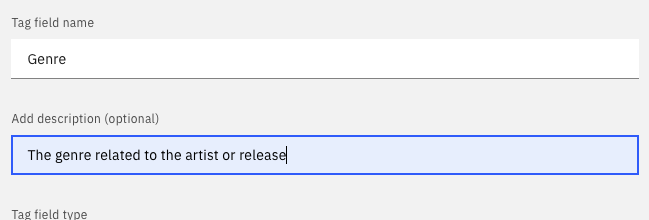
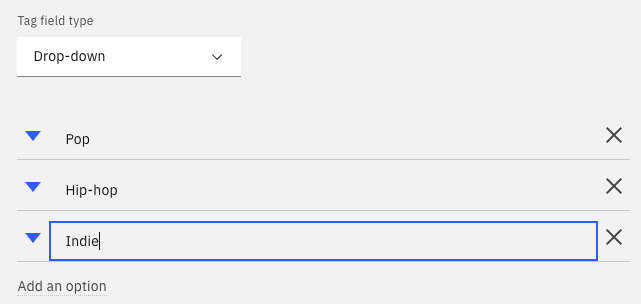
5. Select the appropriate Tag field type:
- Text: Most appropriate for qualitative classifications with varying or changing options. Country, release names and internal IDs are best suited for Text.
- Number: Most appropriate for numeric values. Strictly Quantitative values like the number of followers pertaining to an artist or billing rates are best suited for the number tag field.
- Drop-down: Most appropriate for a limited number of options within a classification, and helpful for maintaining data validation across your team. Genre and Vertical are best suited for Drop-down.
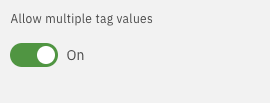
6. Toggle Allow Multiple Tag Values if necessary. Certain tags, like customer IDs are better left as single values, whereas tags like genre may require multiple.
7. Click Create tag field to save your changes.
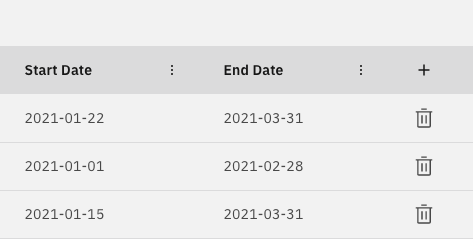
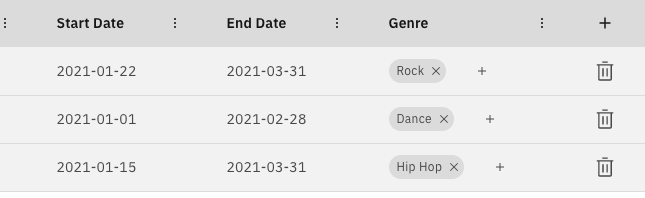
8. To add a tag to your dashboard, navigate to edit mode on your dashboard of choice, select the plus icon on the right and choose your tag.
9. With the tag field now available, tag your campaigns as you see fit. Pro Tip: Campaigns can be tagged in bulk by selecting multiple!
Click here to head over to the platform and begin creating tags!